Thursday, June 2, 2016

The Red Roof


Nothing better than updating an old structure to make it look amazing.

A few months ago, we had a jumbo tree fall smack on the middle barn roof. It snapped some of the support beams, dented the metal roofing and knocked all kinds of wood panels out of sorts.   When we purchased this home, we knew at some point we'd be moving onto the outbuildings for updating, but figured we'd get through the house renos before we touched them. 

We had to address the barn immediately mainly because we could've ended up with bigger structural issues down the line.  Fixing it meant getting a new roof as well.  Goodbye old dingy brown roof, say hello to our brand new shiny amazing gorgeous red one!  We couldn't be happier with the color choice and materials we chose, what do you think?


                                                                   BEFORE


DURING


AFTER 


Next up- fresh paint!!!  Final pics to come...
Let us know what you think!


Wednesday, May 25, 2016

Spring Planting Time!

One of my very favorite parts of Springtime is that first day that's warm, sunny and the perfect day to clean up the yard and plant some new shrubs, flowers or herbs!   Means this property has been a work in progress, we're still working on making the outside shine as good as it can.  When we moved in here, it was end of summer, so really last spring/summer was our first season in the house and with so many other things going on, like the pool- we hardly had the time to invest in yard work.  This year,  my goal is to trim some more trees, take some more trees OUT, and plant some new shrubs, perennials and (hopefully) start my garden.

A trip to Produce Junction today set me back a few hundred bucks, but totally worth it considering all I got.  Kayla joined me and helped pick out some new plants for the front of the house and around the new stone retaining wall we built this past March. She and I each had our own cart, and we literally filled up, paid and unloaded in the car 3 TIMES!  The back seat of my car was folded down, and I STILL loaded up on goodies from there.  God, I love that place!!!   Here's some of what I picked up.. now deciding how to lay all this shit out will be another episode.


Friday, May 20, 2016

Ducklings Coming Soon!

So June has been sitting in the duck house, on her nest for a few weeks now.  She is definitely brooding and we have been so uncertain on wether or not we'll even get babies because of the cold spring we've had and how long it took her to drop them all (7 weeks).  Being new to this whole experience it's been so stressful.  Of course Tim wanted to snatch the eggs up and gobble em up, but Kayla and I voted we let nature run it's course and see what happens with them.

Yesterday I couldn't stand the wait any longer, I just had to candle an egg to see if anything was happening- AND IT IS!!!  Much to my surprise, the very first egg (of many) in June's nest was a growing baby duckie!!!  My heart skipped a beat and I literally let out a squeal the neighbors could hear. Kayla came running over and had to see for herself.  She snapped these pictures with her phone. It's a little difficult to see really well, but you can certainly see the veining and air pockets along with the dark shape of a new little duckling to be!  


Can't wait to see how many we end up getting and what they'll all look like.  We're honestly not even sure if they're all June's eggs, Maggie being a female may have dropped some so it's going to be exciting to see who the ducklings will end up looking like. Hopefully in just another week or so... with all the excitement, I grabbed a second egg and we went to the garage where it was a little easier to see and candle.  These were the other pictures we got.


Saturday, April 2, 2016

Goat Shelter is complete!


So unfortunately, Tim decided one day after work to come home and kick ass and do all the siding and roofing on his own.  I told you before, my husband is amazing. But this means I dont have any photos of this part of the process.  I do, however have some photos of him putting the finishing touches on with some battens.

We also learned the hard way when it came to fencing... Tim was able to get a long roll of chain link for free from someone he knew.  Thinking it would be a $ saver, we jumped at the opportunity.  After we got it unrolled and stapled to the trees, we realized it wasnt anywhere near tall enough and we feared the'd jump over it.  Additionally, we were short by about 150 ft and we figured if we had to buy new fencing, at that point it was best to back track and remove the free fencing and start fresh with a good livestock quality fencing from our favorite place- Tractor Supply.

As you already know, if you've been following this blog- we just got our goats (which we are in love with by the way) and they are happily enjoying their new home.   The didn't, however care for the noises of the nail gun every time Tim shot a nail in to the boards.   Zoey was especially funny and very curious. Actually they were all pretty curious to see what he was doing.   Here's a few photos of the finishing touches and our final product.  Not bad for the first goat barn we've ever built with our own two hands, eh?   (pat on the back to us).


Here's a few shots of what it looks like from the inside. They're loving it!


Here's the finished product, even comes with a two section door so we can put them away and still leave the top open for air- OR shut the top portion on days with heavy snow or rain to keep it out of the shelter but still allow for the goats to come in and out freely.  

This day we were taking sections of the old chain link out and replacing it was the new goat fencing we purchased.  This was the first time these little guys saw the tractor and curiosity got the best of them all.  Especially, Zoey!  Our little trouble maker she is...


Let us know what ya think in the comments below.

Tuesday, March 29, 2016

Starting to Build a Goat Shelter


We've been talking about getting goats for a little over a year now.  Kayla has really been pushing the topic, probably because she's getting older and the longer we wait, less of her childhood will be spent with them.  It took a little convincing, but once Tim came to terms with the idea, he was just as excited as Kayla and I were.

After months of research and talking with our new farmer buddy in Lebanon who breeds the goats we're going to pick up- we think we covered just about all basis.

Goat behavior
Goat diet
Best food brand for goats
Goat's favorite treats
What goats like to play with
Personality of different goats
Goat breeds
Breeding goats
Milking goats....

yea, we pretty much had everything covered and were ready to get going...


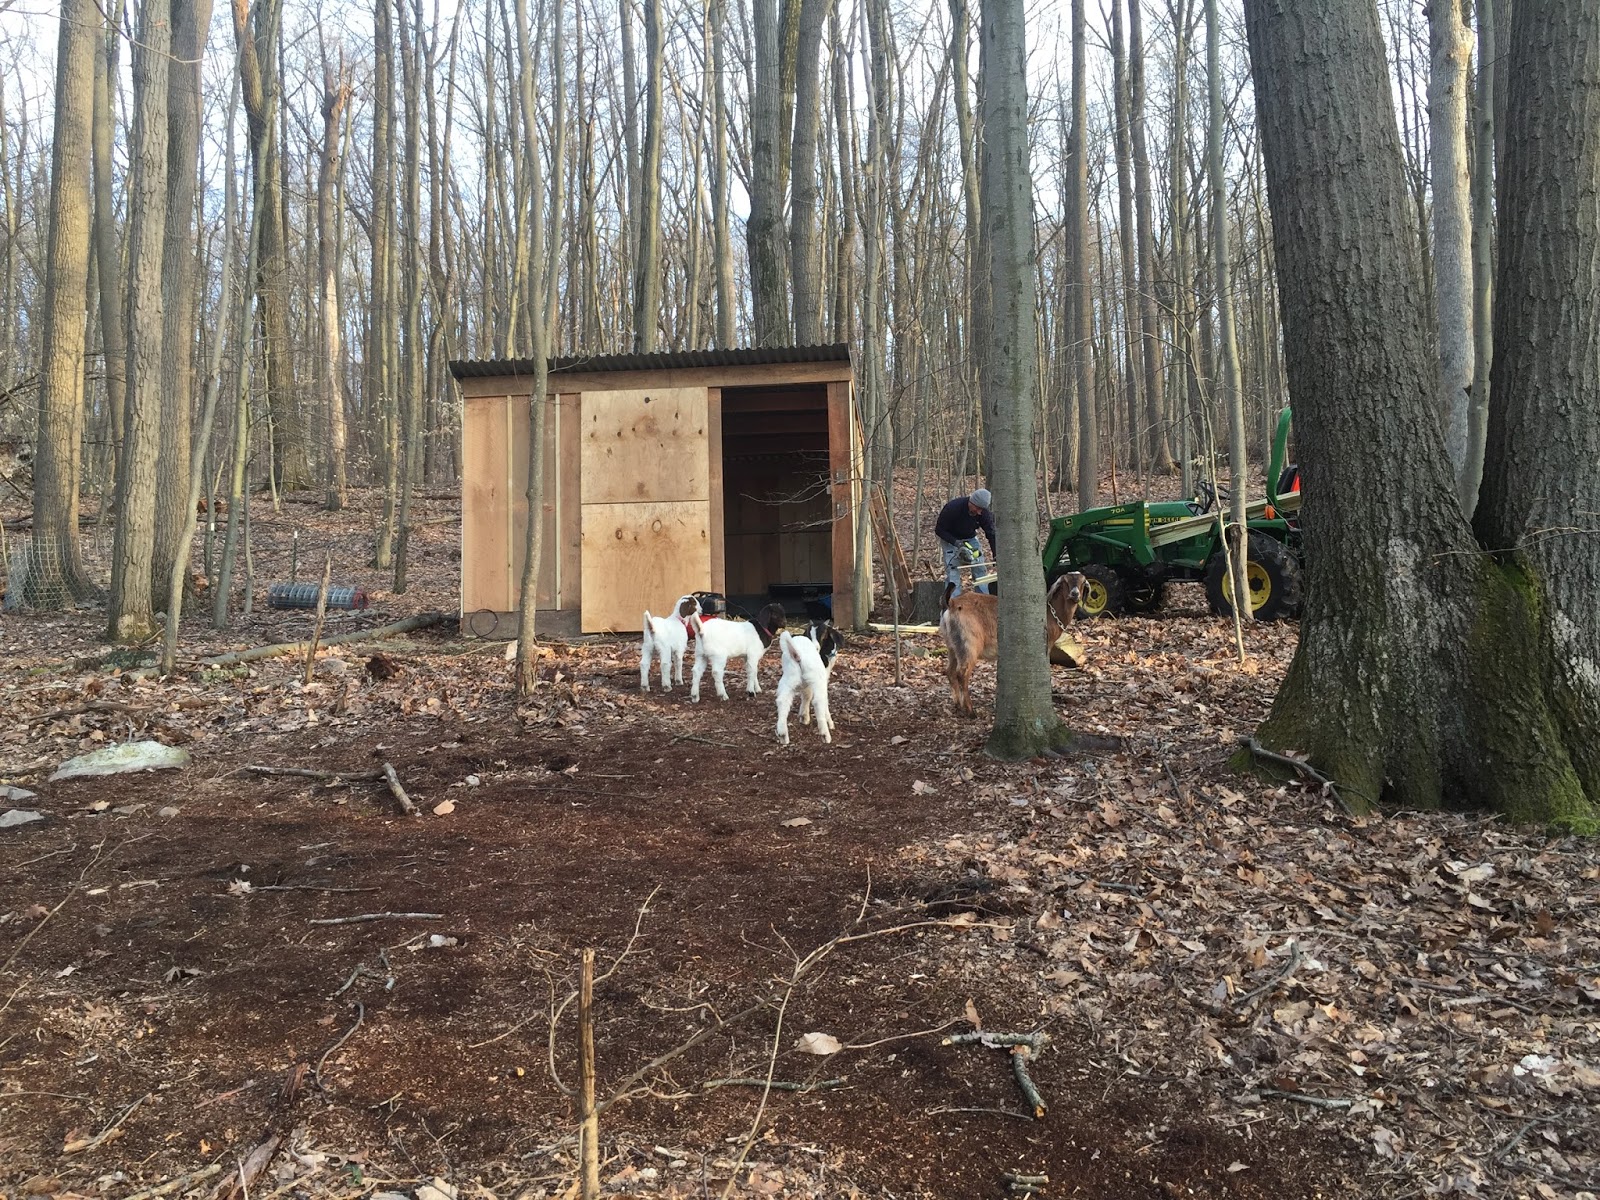
oh! Goat HOUSING!  We couldn't possibly bring baby goats home without proper shelter!

Build a goat barn you say?  No problem, my husband is a genius and can do all things, including building a goat shelter.  And that's just what we're going to do!

A trip to the barn to see what we had for lumber and a few items at Home Depot and we got the start of what will be an awesome structure.  Too bad its super cold out and it's going to SUCK being outside putting this thing together.    We went back and forth about where the best spot for them would be. I wanted them out front so they were the first think you saw pulling up the drive. Tim liked the idea of them being out back so all summer long when we're hanging by the pool we can enjoy them.   So guess what we ended up doing?   Nope, usually I get it my way, this time Tim had the final say, and as much as I HATE to admit it- he was right (just this one time in 17 years of marriage haha).  We decided to set up shop out back and get the construction on its way.  It looks a little lifeless as everything is still very dead and brown, but once the spring comes and we have GREEN it'll be a great little goat home.

Before we actually began, we had taking several large trees down out back the week before.  We had to cut the center of the logs out to allow a pathway for the John Deer to make it back and forth with materials for the new structure we were going to build. Luckily, Tim wears many hats, this day he was a lumberjack.


 Here they come with the tools we need to get rocking and rolling!


This is the spot!  Perfect view of the house and pool.  Time to dig up some big rocks to make the area nice and clear for our new structure!


                                     We know who's REALLY doing all the work here...


  Here's a shot that actually has me in it, hard to tell from all my photos but I was equal parts in                                   building this thing.  Getting anyone to snap photos is usually a chore.


                                           Kayla stepped up and gave her dad a hand.


                          She looks thrilled, doesn't she? haha, she'd kill me if she ever saw this post.


And the framing is just about done! 


Saturday, March 26, 2016

Goodbye Rotten Railroad Ties, Hello Gorgeous Stone Wall!


We didn't realize how bad the side retaining wall was rotted out when we moved in.  Last summer, I did some yard cleaning and decided to tackle the job of raking out under all the huge rhodedendrons we have.  I could hardly get my rake under them they were so overgrown and encroaching on that entire hillside.

Didnt take me long- I had Tim fired up with a chainsaw in hand ready to clean it up.  We took two trees out that were so poorly grown, they were just an eyesore.  After taking all that out it really opened up the space, but then we were left with a total nighmare... rotten retaining wall.  We actually had rhoadie roots growing out of one of them and it was pushing it so far off where it should be, the hillside was starting to cave.   We ended up with a much larger project than we had anticipated, although that seems to be the norm around here anymore. It's like peeling away one layer and find another that needs peeled beneath it and so on.

We decided to take out the railroad tie on the bottom as it was damaged the most and replace it with a stone wall.  The awesome part of it is that we were able to hand gather each and every stone that you'll see in this wall from our very own property- which to us, makes it THAT much more special.  Sure, we could've hired guys to come in with a crew and load of stone and bang it out in a day or two.. and pay upwards of $8000, but we prefer to do these things ourselves as the reward of accomplishment is far greater than the end result.

This took us a little over a week, with a few hours here and there throughout the week after work and a few long days over the weekend. We're tickled pink and love the way it looks.  Can't wait to rip out and replace the upper tier next!


After tree trimming and cleaning up was done, but still has the old retaining wall:


 Start of the new wall going in, looking good hunny! XOXO  We had to dig down, lay waterproofing,                                          back fill with gravel and start laying in the tiers.


These were some of the rocks we dug up, cleaned up and brought down for this wall.  And let me tell you- majority of them were heavy as hell.  Some were so heavy we needed to load em in the tractor and dump em.  This was by no means an easy task.  We agree, however it was well worth our efforts.


 The trash pile we later loaded on the trailer and took to the landfill in Honey brook.  Most of these                    were so rotted out they crumbled and fell apart when we tried to move them.
                                               Glad they're no longer an issue!


And no better way to pat ourselves on the backs when it was complete-then with a cold one.  
CHEERS!


Sunday, February 21, 2016

Back Stairs, Grunge to Gorge


Being that we're a raised ranch, which means we park in the garage at ground level out front, but our living space is upstairs.  That being said, we have a back set of narrow stairs that lead from the garage up into the kitchen.  The stairs we think were an after thought, because they're extremely small and narrow and quite frankly they hog space in the little kitchen- but that's another story.

After trucking up and down these white stairs that looked like they hadn't bee cleaned or cared for in a very long time- I decided to attack them, viciously.  My weapon of choice? The god forsaken paintbrush. (smile)

I decided to do a multi-tone on the stairs and paint the walls a light grey to warm the whole hall up and give life to a once drab space we were in multiple times a day.


                                                                BEFORE:


                                                                   AFTER:


                                               SIDE BY SIDE COMPARISONS


Now for some artwork and quirkiness... will add some finishing touches and update soon.